I have sent cards to PSA more times than I can count at this point. My first submission was 22 cards back in 2019, and I still cringe thinking about how I packaged them. I rubber-banded them directly in top loaders, stuck them in a flat-rate envelope, and dropped them at the post office. Two came back with new corner dings. PSA did not cause those dings. My packaging did.
Since then I've built a prep workflow that I run through every single time, regardless of whether I'm sending 10 cards or 150. The Cardboard Gold Card Saver 1 semi-rigid holder is the centerpiece of that workflow, and that's not because I prefer the brand. It's because PSA and SGC specifically recommend Card Saver 1 by name. When a grading company tells you what they want, you bring them exactly that. This guide walks through all eight steps in the order I do them.
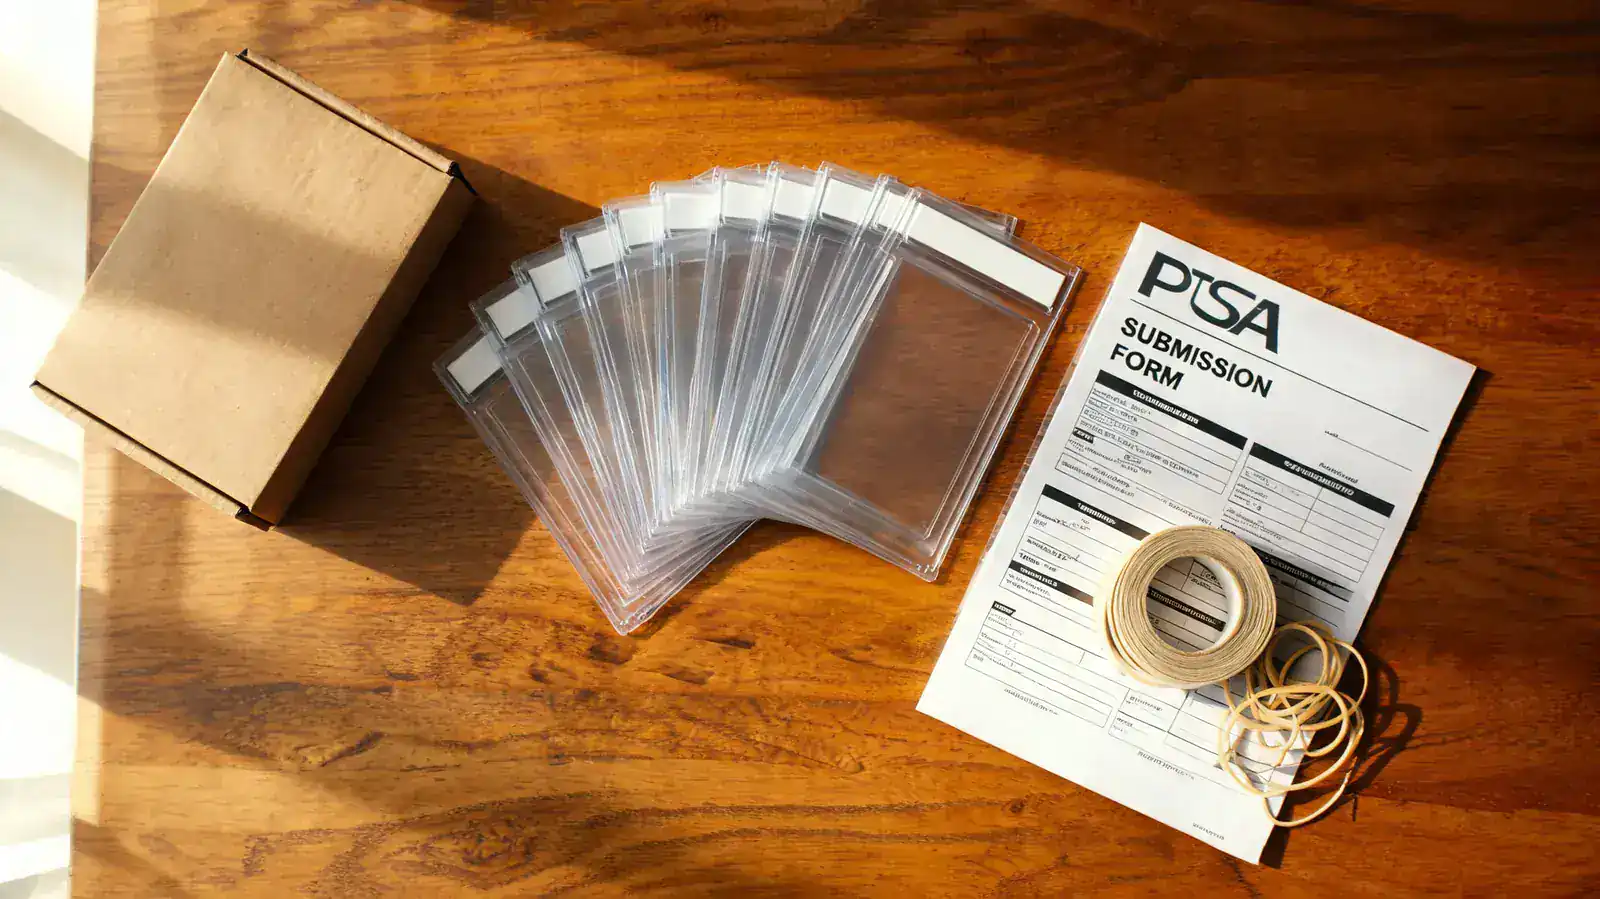
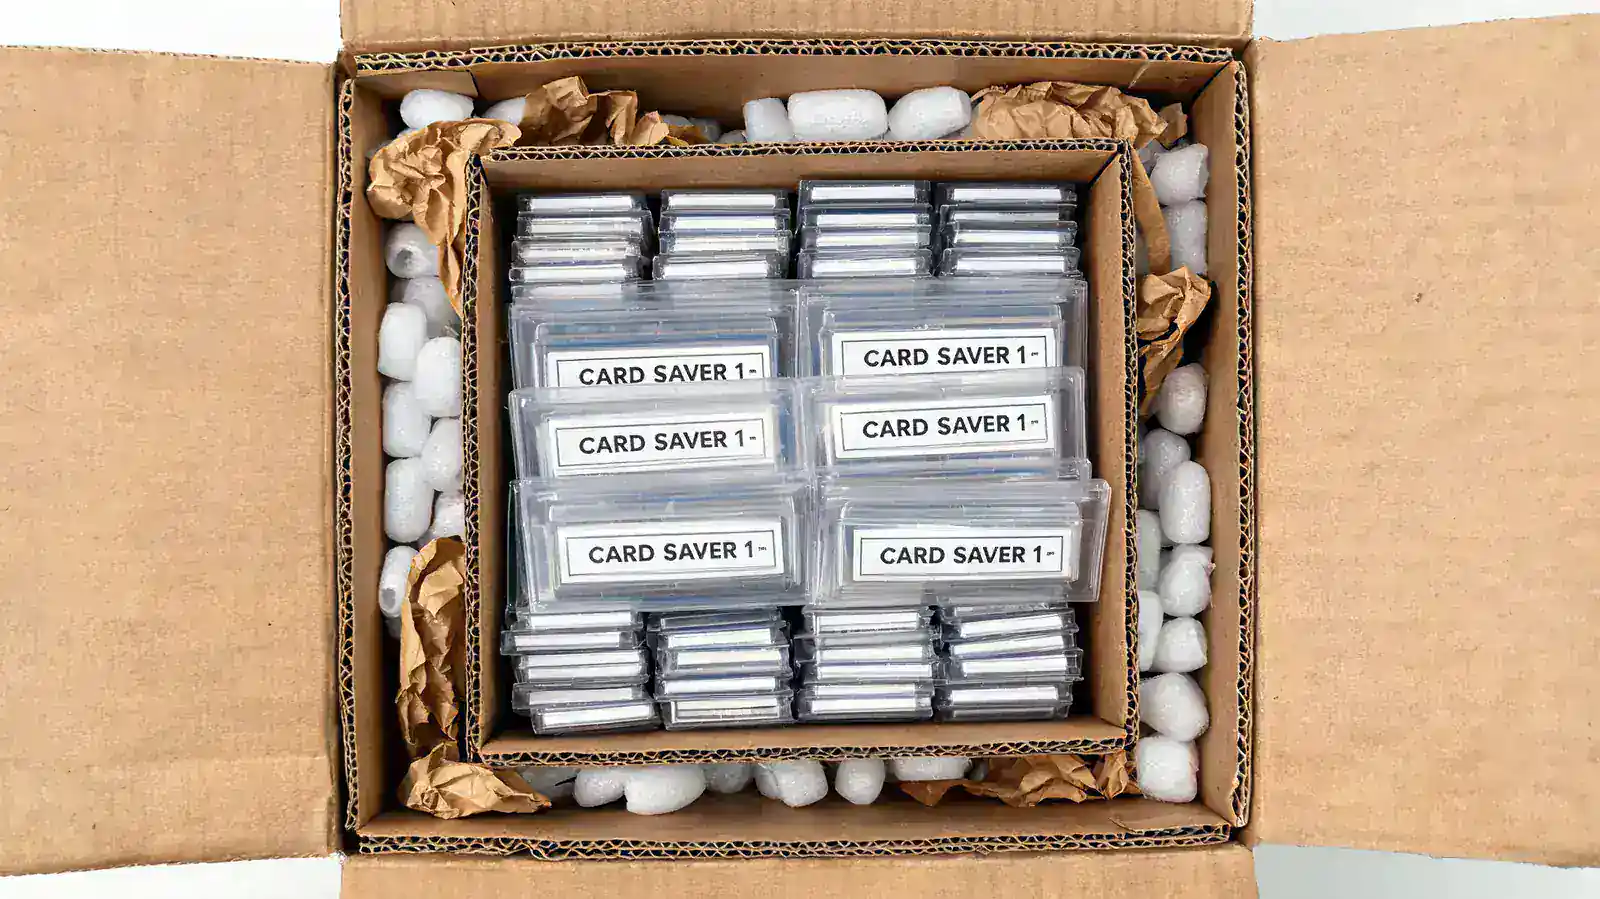
Before you read another word, make sure you have Card Savers on hand.
PSA accepts cards in Card Saver 1 semi-rigid holders. Not top loaders, not screw-downs. If you're getting ready for a submission, pick up a pack now so you're not scrambling later.
Amazon Check Today's Price on Amazon →Step 1: Clean and Inspect Every Card Under Good Light
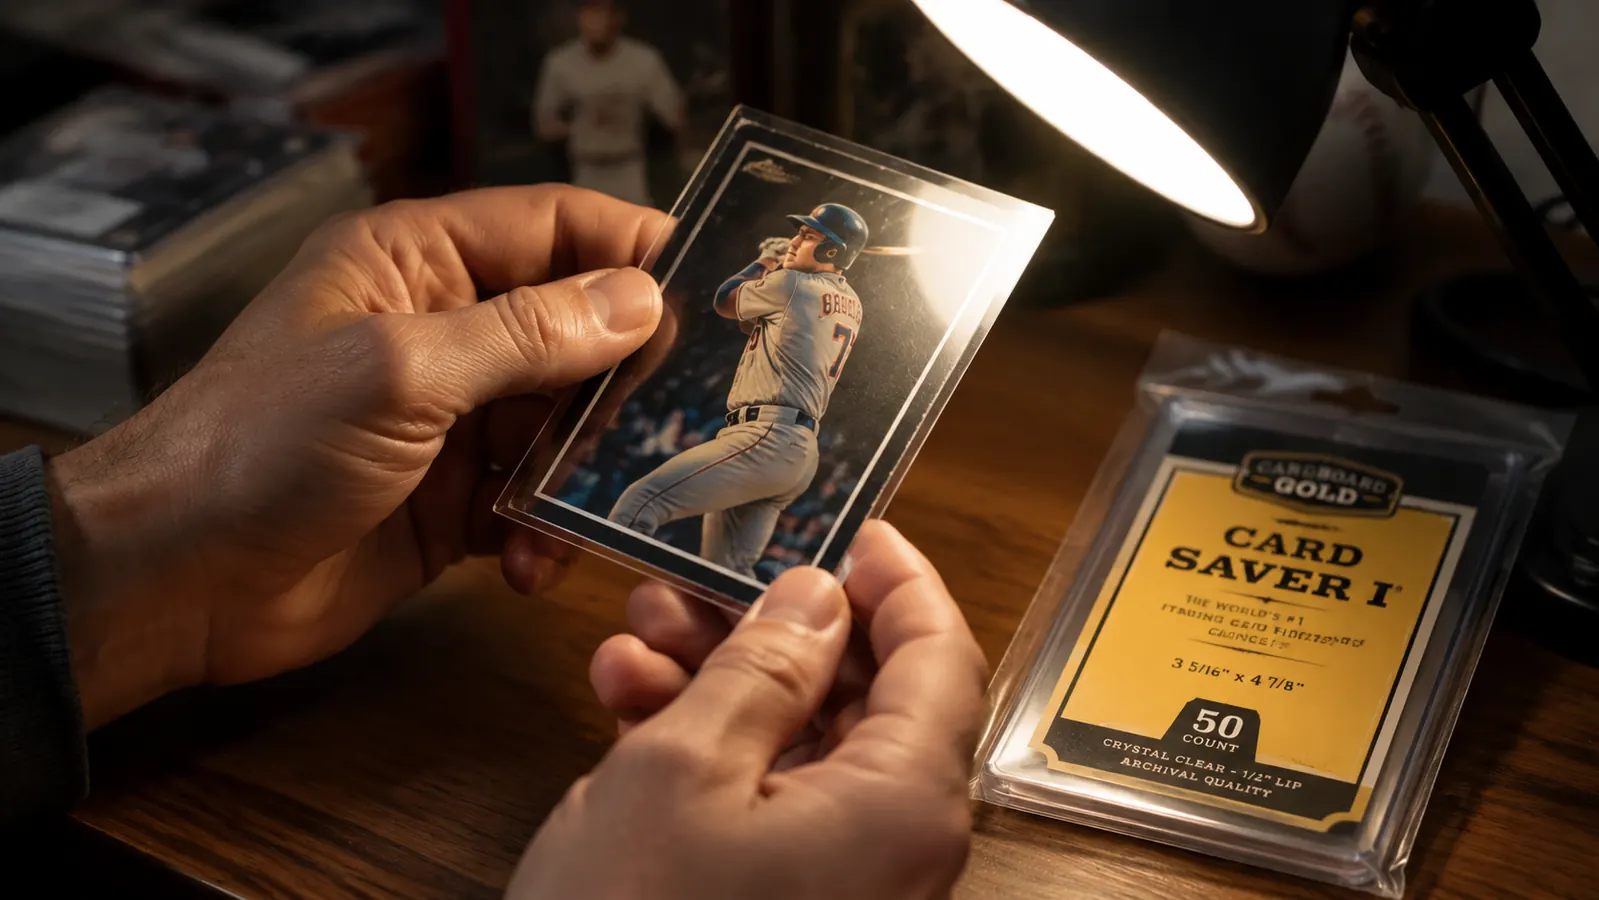
Before anything touches your card, you need to know what you're working with. Pull out a decent desk lamp, not the overhead. Hold the card at a 45-degree angle and tilt it slowly toward the light. You're looking for scratches, print defects, surface scuffs, lifted corners, and creases. A card that looks clean under a ceiling light will sometimes show a half-moon scratch or a pinprick print dot the moment you angle it right.
If you find a significant defect, decide now whether it's worth submitting. PSA's grading scale runs from 1 to 10, and a card with a visible scratch will cap out around a 6 or lower even if the corners and edges are perfect. Be honest with yourself before you spend submission fees on a card that's going to come back a 4. For the cards that pass inspection, use a clean microfiber cloth to gently wipe both faces before sleeving. Do not use any liquid or cleaning solution. Air and a dry cloth only.
Step 2: Sleeve in a Penny Sleeve First, Always
This step surprises new submitters. PSA and SGC both want cards arriving in a soft inner sleeve before they go into the Card Saver 1. The penny sleeve serves as a first barrier against surface contact during transit. Slide the card in face-down so the open end of the sleeve faces down when you eventually flip it into the Card Saver. Standard penny sleeves fit 99% of cards. For thicker vintage cards or premium chrome refractors, check the sleeve size first.
One common mistake I see on grading forums: people seal the penny sleeve with tape or fold the top over. Don't. PSA graders need to remove the card efficiently from the Cardboard Gold Card Saver 1 in seconds, not minutes. Leave it open. The Card Saver 1 provides the structural support. The penny sleeve just prevents direct plastic-on-card contact.
Step 3: Slide Into the Card Saver 1 Without Dinging the Corner
This is where most people cause their own damage and blame the submission process. The Card Saver 1 is semi-rigid, meaning it flexes. You open it by gently bowing the holder slightly with both thumbs, then let the card drop in rather than pushing it in from the front. Never use your thumb or finger on the card's face. Push from the back of the penny sleeve with one finger while the holder sits open. The card should fall into position without force.
The most common corner-ding scenario: someone holds the card between thumb and index finger, then tries to insert it at an angle into a closed Card Saver. The corner catches the lip of the holder, bends, and you've just dropped a potential PSA 9 to a PSA 7. Practice the bow-and-drop method on a bulk common card a few times before you load up your submission cards. It takes about 30 seconds to get the feel of it.
Once the card is seated, make sure it's centered in the holder and not riding against either side. Give the holder a gentle shake. If the card rattles significantly, you may have the wrong holder for a thick card. Card Saver 1 fits standard-thickness cards in the 20pt range. For thicker chrome, foil, or jersey cards, check the card's point thickness and match accordingly. Sending a 55pt relic card in a standard Card Saver 1 is a setup for movement damage.
Step 4: Fill Out the PSA Submission Form Accurately
Log in at psacard.com and create a new submission order before you've packed anything. As of 2026, PSA requires you to declare a value for each card. This is not optional. The declared value determines which service tier you're eligible for and affects PSA's liability if something goes wrong in transit. Underdeclaring is a risk I don't take. If the card is worth $200 at auction, declare $200.
PSA's service tiers have shifted around over the years. As of early 2026, the most accessible tier for non-dealers starts at $18 per card for Value service with a 60 to 90 business day turnaround. Economy is $50 per card with faster turnaround. Standard is $100+ per card. Choose based on how quickly you need the slabs back and what the cards are worth. Submitting a $15 card on Standard service is throwing money at it. Submitting a $500 card on Value is fine as long as you can wait.
Print the confirmation order that PSA generates. This goes inside the box with your cards. The order number on that sheet ties your physical package to your online account. Do not skip this. Submissions arrive without an order form regularly, and PSA will contact you to sort it out. That delays your turnaround.
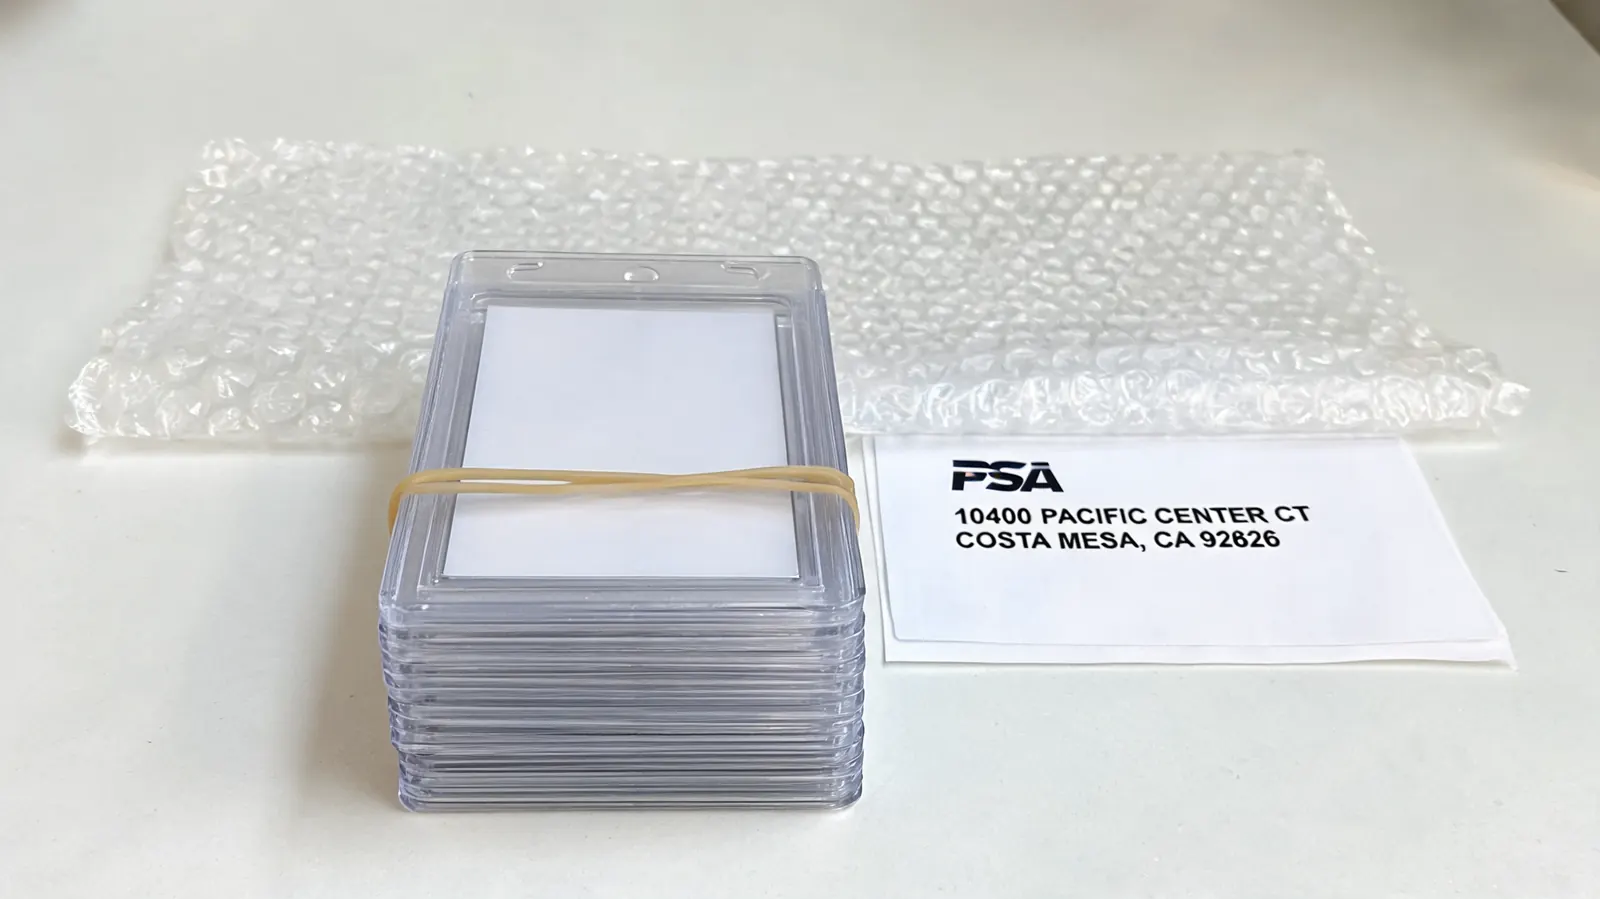
Step 5: Bundle Cards in Groups of 20 with a Rubber Band
PSA asks that cards be bundled in groups of no more than 25. I use groups of 20 because it's a natural count and the bundles stay tight. Lay the Card Savers face-up in a flat stack, then place a single rubber band around the short dimension. The rubber band should sit snug but not compress the holder. Too tight and you risk warping. Too loose and the bundle shifts in transit.
If you have, say, 42 cards, do two bundles of 20 and one of 2. Don't try to make them even at the expense of grouping logic. Order each bundle to match the sequence on your PSA order form so graders can locate each card without hunting. Some submitters write the card numbers on a sticky note on each bundle. I do this for large submissions and it's saved a lot of confusion.
Step 6: Use the Box-Within-a-Box Shipping Method
This is the single biggest upgrade you can make to your shipping process. Take a small cardboard box (a 200-card storage box works well), pack your bundled Card Savers snugly inside with bubble wrap on all sides so nothing moves, then place that entire sealed inner box inside a larger shipping box surrounded by at least two inches of packing material on every side.
Why does this matter? A postal tub drops onto your package from a conveyor belt. A forklift bumps a pallet. Something heavy gets stacked on top. The inner box absorbs and distributes that shock before it reaches your cards. A single-layer box with just bubble wrap inside gives your cards no real protection from a hard impact. The box-within-a-box creates two independent layers of crush resistance. I have never received a card back from PSA with new shipping damage since I switched to this method.
Seal both boxes with packing tape. Double-tape the inner box seams. Write your PSA order number on the outside of the inner box with a marker so it's visible if the outer box is damaged in transit and separated. Place your printed PSA order confirmation sheet inside the inner box on top of the card bundles.
The box-within-a-box is not overkill. It is the minimum. Your cards survived whatever condition they were in for 20 or 40 years. Don't let a postal hub take them down in a week.
Step 7: Ship with Insurance and Full Tracking
PSA's current submission guidelines require that packages be sent with a trackable shipping method. USPS Priority Mail is the most common choice for domestic submissions. It includes up to $100 of USPS insurance automatically, which is not enough for most submissions worth sending. Add additional insurance through USPS, UPS, or a third-party insurer like Collectibles Insurance Services. Insure for the total declared value of all cards combined.
Signature confirmation on delivery is optional but I always add it for any submission over $500 total value. The few dollars it costs is nothing compared to a package showing as delivered with no one home and an unclear chain of custody. Once you drop the package at the counter, screenshot or photograph the receipt with the tracking number. Enter that tracking number into your PSA submission page. PSA's system will update when they receive and log your package.
PSA's mailing address as of 2026 is their Santa Ana, California facility. Double-check the current address at psacard.com before shipping. They have relocated in the past and outdated addresses circulate on forums. Send to the wrong location and your submission can sit for weeks before anyone sorts it out.
Step 8: Understand What Happens on Turnaround and Grading
Once PSA receives your package, they log it into their system and you'll see the status update in your account dashboard. From there, cards go through intake, authentication, grading, encapsulation, and quality control before shipping back. The process has multiple human eyes on it. PSA's graders look at centering, corners, edges, and surface as four separate sub-grades, and the final grade is the lowest of those four in most cases.
Turnaround times in 2026 have stabilized compared to the backlog years during the 2020 to 2022 boom. Value service typically runs 60 to 90 business days. That's roughly three to four calendar months. Economy runs 30 to 45 business days. Do not call PSA or email them asking for updates before your estimated return date. Their support team handles thousands of submissions and early inquiries slow the process for everyone.
When your cards ship back, PSA uses insured tracked shipping via FedEx or UPS. You'll get a tracking number in your account. The slabs come back in foam padding inside a PSA-branded box. Check each slab against your order confirmation when they arrive. In my experience, PSA is accurate, but errors do occasionally happen. If a grade looks wrong or a card is missing, contact their customer service with your order number and the specific card in question.
What Else Helps
A light pad or a bright LED panel makes the inspection step in Step 1 dramatically easier. Holding a card up to window light works but you will miss defects that a backlit setup would catch. I keep a cheap A4 LED tracing pad on my desk specifically for grading prep. It's one of those purchases that costs under $20 and immediately earns its place in the workflow. Beyond that, having your penny sleeves, Card Savers, bubble wrap, inner box, and outer box all ready before you start is the difference between a smooth two-hour session and a frustrated evening hunting through your garage for tape.
For anyone doing their first submission, I'd also recommend reading the full PSA submission tutorial on their website before you finalize anything. PSA updates their requirements periodically. The workflow here reflects current requirements as of 2026, but PSA's own documentation is always the final word on what they accept.
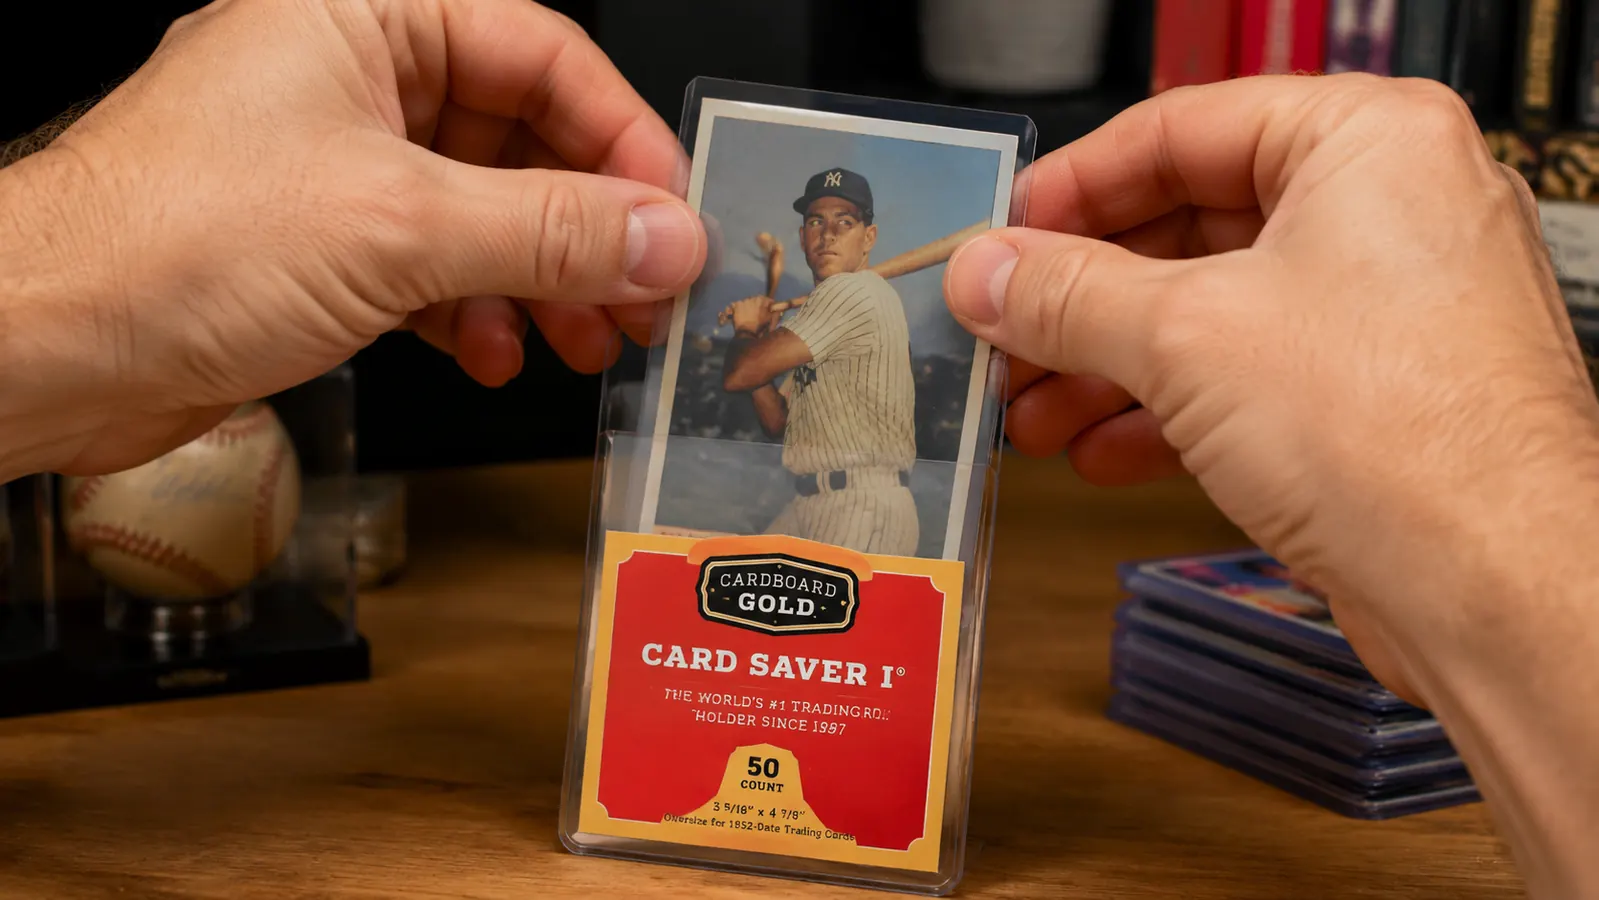
Card Saver 1 is the holder PSA names by recommendation. Use it.
Cardboard Gold Card Saver 1 comes 200 to a pack and is the semi-rigid holder PSA specifically recommends for all submissions. If you're prepping a submission now, check current pricing and availability on Amazon.
Amazon Check Today's Price on Amazon →